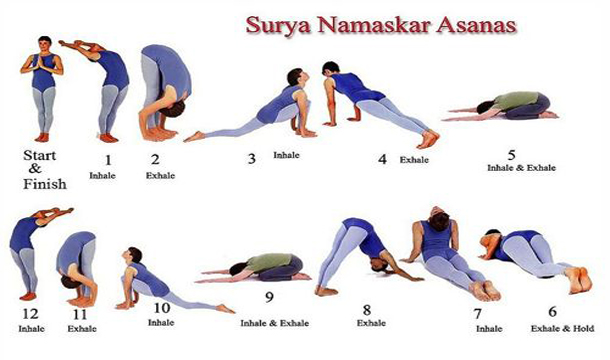
In ancient times, Rishis and Vedic saints were seen to recommend doing yoga. For better health and a positive mind, yoga was the only key to an excellent disease-free lifestyle. The most significant among them to practise throughout the early morning is Surya Namaskar. Doing Surya Namaskar has numerous benefits that will help us have a fresh, relaxed and happy day to start. Doing Surya Namaskar has lots of positive advantages. Doing it regularly reflect it in our mind and enrich us with creative and intuitive abilities. This, in turn, brings us lots of health and mental benefits.
Surya namaskar is a very powerful yoga technique that is comprised of 12 Asanas, breath and mantras. It is also known as the “king of Yoga”. The sun salutation or Surya namaskar is the perfect type of yoga that benefits you in providing a good cardiovascular workout. “Surya”, which means sun and “Namaskar”, which means Namaste. The technique involves bowing down and praying to the heavenly sun, as is customary in yogic practise.
Sun Salutation( Surya Namaskar) Instructions
Surya Namaskar is of 12 sets of Asanas. So, for completing the one round of Surya Namaskar, one has to do all the 12 yogic Asanas. While doing yoga, you must do it on a mat, and it is highly recommended. The yogic asana must be synchronised, and the body and mind should keep rhythm according to it. You can also go for a light warm-up before doing the yoga. This will make you more comfortable. While doing yoga, you can chant the mantras to help you relax. It is always better to do yoga during dawn or dusk, but you can do it any time of the day.
Surya Namaskar Steps
-
Prayer pose (Pranam asana)
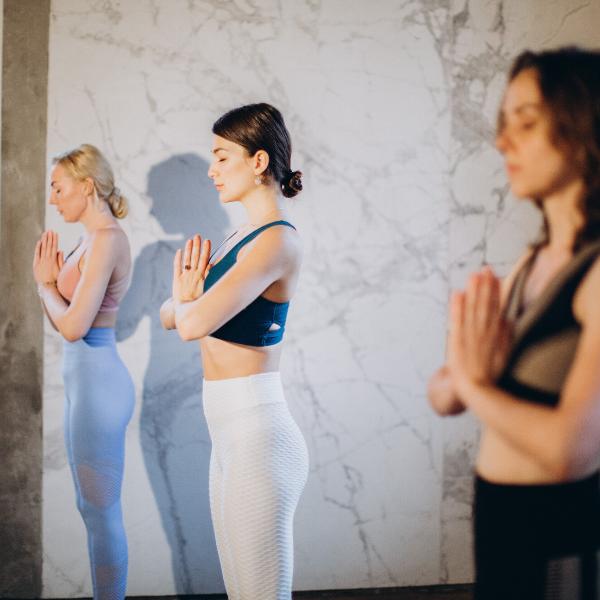
- While doing this, one must face towards East and should stand straight on the mat and make you lose.
- Then, keep both the feet together by joining them. You must keep an equal amount of weight on each foot.
- Begin by taking deep breaths in and lifting both arms from the sideways position. Now take a deep breath and bring both of your palms together in front of your chest.
Be in a prayer position. Now take a deep breath and start chanting the mantra “Om Mitraaya Namaha.” The benefit of doing this Asana will help you in maintaining body balance and will relax your nervous system.
-
Raised arm pose ( Hasta uttanasana)
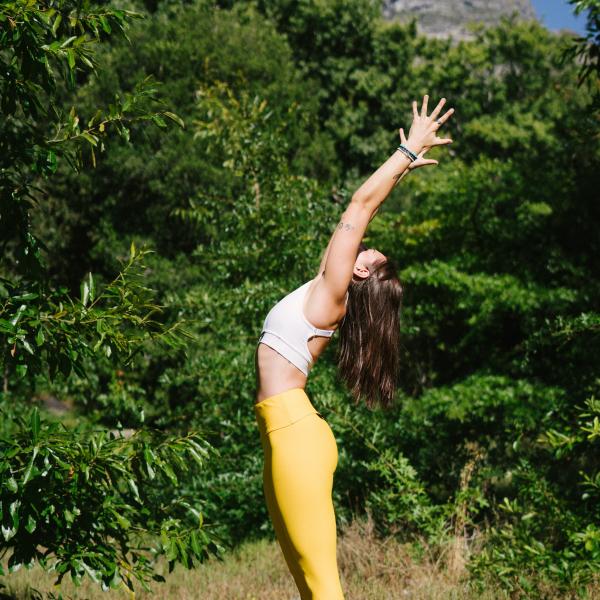
- First, take a deep breath in and then begin elevating your arms.
- Re-enact the exercise with your pelvis slightly forward this time.
- Now, from your heels to the tips of your fingers, strive to extend your entire body out. Raise your heels off the ground.
- Stretch your full body from your finger and avoid bending backwards much.
- Be stable in that position and relax in the position.
- Now inhale and chant the mantra “ Om Ravaye Namaha”.
The benefit you will get by doing this asana is to tone your muscles and expand your chest to take full oxygen.
-
Standing forward bend (Hasta Padasana )
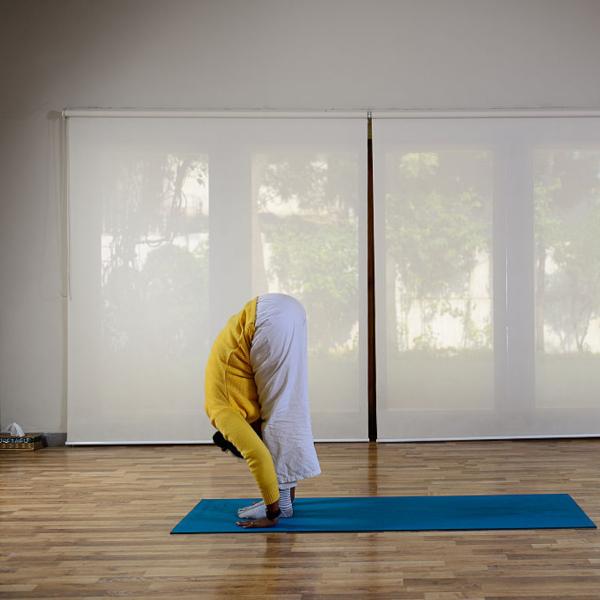
- Now take a deep breath and begin bending forward from your waist.
- Your spine should stay erect when you bend.
- When you exhale completely, focus on touching the floor next to your feet.
- You can bend your knees a little and can touch the floor. Keep the knees straight.
- In that pose, Maintain your stability and calmness.
- Now inhale and chant the mantra “Om Suryaya Namaha.”
The benefit that you get by doing this asana will make your waist and spine flexible. It will help in stretches your Hamstrings.
-
Equestrian pose( Ashwa Sanchalanasana)
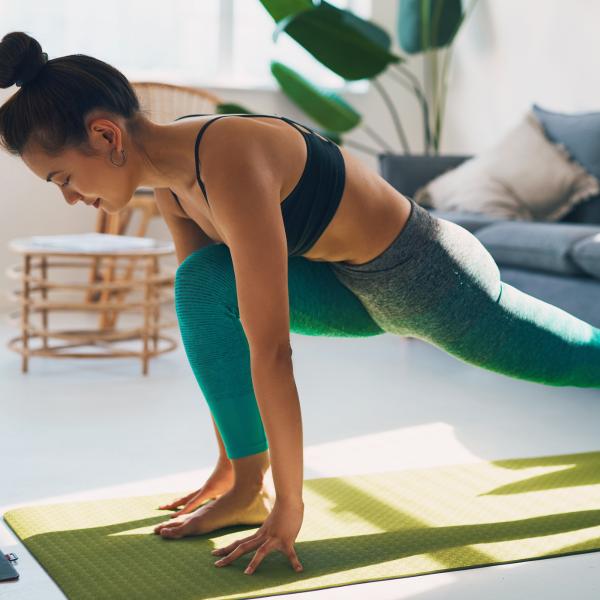
- Start inhaling, then take your right leg towards the back and push it back as possible.
- Place your right knee on the floor at this point.
- As you feel stretched in your arms, hamstring and back, you keep your head towards the ceiling.
- Your left foot should be in a perpendicular position in between your palms.
- Your both palms should be in touch with the floor.
- Be stable and relax in the position. Now inhale and start chanting “Om Bhaanave Namaha.”
This asana will assist you in strengthening the muscles in your legs. It will increase the flexibility of your spine and neck.
-
Plank Pose ( Phalaksana)
- Start your position by inhaling, and start moving your leg back and straight your body.
- Make sure to keep your arms perpendicular to the floor.
- Look straight and straighten your back.
- Be stable and flexible in this position and start inhaling the fresh air. Along with it, start enchanting “Om Khagaya Namah.”
The benefits you get from this asana are, you will able to strengthen your arms and back.
-
Child pose ( Shishuasana)
It is also known as Ashtanga Namaskar.
- First, you have to go for shishuasana, and then you will move forward to Ashtanga Namaskar.
- Move forward and rest your chest on your knees, and move your chin on the floor.
- Two hands, two feet, two knees, chest and chin must touch the floor.
- Now inhale and chant, “ Om Pooshne Namah.”
This asana helps in enhancing all your flexibility and back muscles.
-
Cobra pose( Bhujangasana)
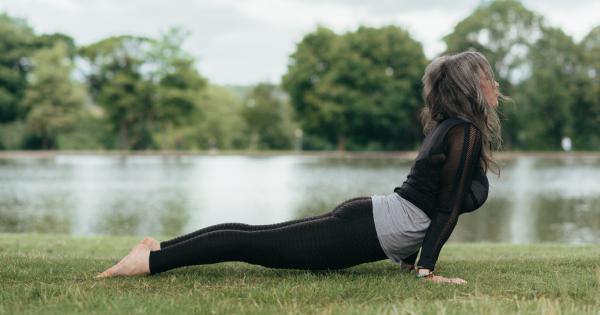
- Inhale and start sliding forward, and your chest must be in raised position and lookup
- Bend your elbow a bit
- Form an arch in your back and naval region, and both the legs should be close.
- Now exhale, and push yourself forward in that position.
- Then be stable and relax in the position.
This asana helps you in stretching your shoulders, chest and increase your body elasticity.
-
Downward-facing dog (Adho Mukha Svanasana )
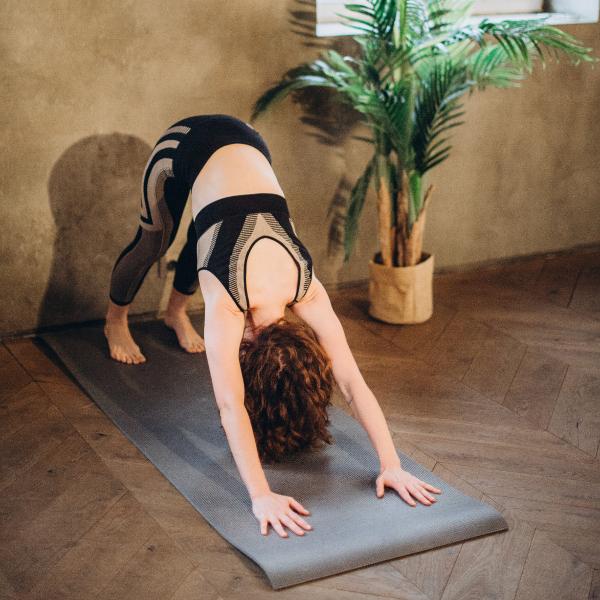
- Exhale and lift your hip and lower down your chest
- Keep both of your feet close together on the ground, and your chin should touch your chest.
- Your posture should be in V position.
- Now be stable and inhale, then chant “Om Mareechaye Namaha.”
This posture helps you strengthen your arms and legs muscles and increase your blood flow.
-
Equestrian pose ( Ashwa Sanchalanasana)
- Inhale and shift your right leg in the forward direction, and your left leg should be back.
- Your left knees should be on the floor.
- Extend your body and raise your eyes to the ceiling.
- Be stable, inhale and chant “Om Aadityaaya Namaha.”
This asana will help in toning the abdominal organs.
-
Standing forward bend ( Hasta Padasana)
- Keeping your left foot in between your right leg and left palm as you exhale is a good idea.
- Your palms should be in contact with the ground.
- Relax in this position by keeping your knees straight on both sides.
- Enchant “Om savitre Namaha”
This asana stretches your hamstrings.
-
Raised arm pose (Hasta Uttanasana )
- First, inhale, and lift your both arm and spine.
- Bend backwards and bring your biceps close to your ears.
- Make sure your body is stretched and that your heels are elevated.
- Be relax in this position and enchant “Om arkaaya Namaha.”
This asana tones your muscles and provides you with the full intake of oxygen to the lings.
-
Prayer pose ( Pranamasana )
- Now face towards the east and stand straight, and lose your body.
- The feet should be close, and your balance should be on both knees.
- Straighten your body and exhale. Bring your arms and forward and join your palm in front of your chest.
- Be stable and relax. Start enchanting “Om Bhaskaraya Namaha.”
This asana will help you in improving your posture and relieves sciatica.
Now, this is the full set of 12 asanas. First, do all the postures in the half-round, and the next 12 sets should be done in another half round. Just you have to change your left leg position to right leg position.
